Day 1 : Getting to know BANGKOK!
Yay! It's been a while since I went on international trip so I am a bit thrilled for my Thailand trip. I did my research and planned out things on what to do and what to expect when I reach Thailand. It's a bit tiring but exciting as well. :)
Yay! It's been a while since I went on international trip so I am a bit thrilled for my Thailand trip. I did my research and planned out things on what to do and what to expect when I reach Thailand. It's a bit tiring but exciting as well. :)
It all started when I booked my Thailand trip a year ago with Cebu Pacific Airline. I really planned out to book ahead so that I would still have time to do my assignment at the same time, save up for this trip. This is it!!
Since I am not a fond of solo travelling because I hate to be lonely during the entire trip and I don't talk much to stranger, I tagged along my sister and my boyfriend. Our departure time was at 1:40 AM but we went early to make sure that everything will go smoothly. Unfortunately, our flight to Manila was delayed for 2 hours (3:45 AM) which usually happens with the said airline. By the way, since there is no direct flight from Cebu to Bangkok, we had to connect flight to Manila. I was already a bit nervous because we might not be able to catch up with our connecting flight but just maybe, Cebu Pacific would be considerate enough because we will just transfer on the same airline. So, after an hour, we arrived in Manila (4:45 AM to be exact). We had to run around the airport because we were not familiar with Terminal 3 of NAIA. Also, we had to go to Transfer booth of Cebu Pacific so we can be assisted with the transfer, however, the lady was not helpful at all. She also pointed us the wrong way going to the transfer area. Phew! Good thing we did not have a checked in baggage or else it would consume some of our time. So when we arrived at the second floor, we did not know where to go or which gate we should be going because the transfer booth lady did not say anything about it. When we asked the guards, they didn't have any idea at all as well. Darn! So what we did, we locate where the immigration area was located, good thing there were directions.


 |
| Our meal on the plane. |
When we arrived at the immigration area, there were a lot of travelers in line and I was like, Oh no! We won't catch up our plane because it was slow moving. I felt like crying at that time, it was a pain in the ass. I could not even find any single Cebu Pacific employee who could at least help us expedite the process. There was nothing we could do but to wait in line and the Cebu Pacific plane we should be in was already calling our names for the last call. Good thing, the immigration officer who attended me did not ask anything and just took a picture of me and stamped my passport. :) .So all of us were able to pass through the immigration department. We were catching our breath because our gate was like at 108, it was way too far! Anyhow, the good news was, the plane waited for us.


The travel time from Manila to Suvarnabhumi airport took around 3 hours. Though the weather was a bit gloomy in Manila, it was sunny in Bangkok. I have read that the weather in Bangkok from July to October is rainy so I expected that there will be several rain showers. When we arrived at the airport, everything went well. There were no issues with the immigration. We only showed our passport and the arrival slip given to us by the Cebu Pacific crew while on the plane. Also, we landed safely! :)
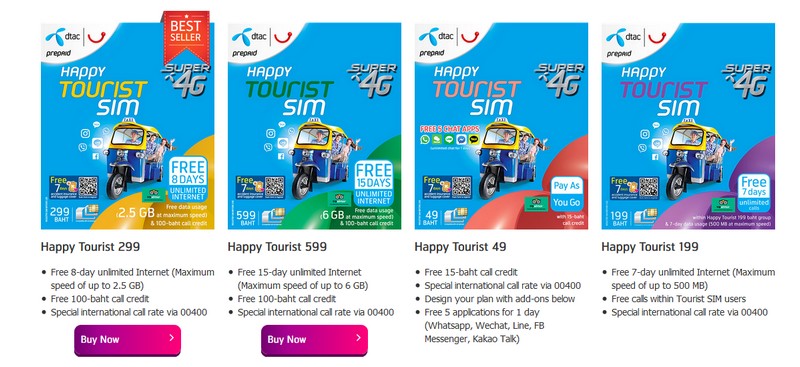
At the airport, we bought a sim card from DTAC happy sim which costs for 299 THB. I actually read some blogs that internet connection is not available everywhere in BANGKOK so I would highly suggest that you buy yours too. It's very useful especially with using the google maps around the area. Let the attendant insert the sim card on your phone and adjust the settings. Also, make sure that the SMS that you received from DTAC would show 7-8 days or depending on the number of days you want to use the sim card. By the way, their booth is located near EXIT 3. Before that, we had our 100 dollars changed to Thai Baht currency so we can use to purchase the sim at SIAM Money Changer. Their dollar exchange rate was actually a bit low. I would recommend that you change your dollars outside the airport for a higher exchange rate. Anyhow, in our case, when we went down to the Airport Rail Link located on the 2nd floor, we saw another money changer booth and it was way higher compared to the one we first had our dollars changed. If I remembered it right, we changed our money on the booth near the City Line escalator.


As per research, there are a lot of hotels or hostels that you can book ahead depending on your preference. Mostly, foreigners would stay in Khao San Road or near Silom Road because of the night life. For us, we stayed in Sap Road near the Silom road. I chose the place because of good reviews and it's actually just 3-5 minutes going to Sam Yan MRT. I've heard that MRT or BTS are not accessible to Khao San Road so you really have to either take taxi, tuktuk or motorcycle. So going back, we rode the airport rail link going to Makkasan BTS where we had to change to Petchaburi MRT going to Sam Yan. For tourists, you have the option to just use the single journey ticket/token or the 30 day pass card where you can reload it on the ticket booth. With the single journey, you can go for the ticket booth or the ticket vending machine. It was a bit hard at first but we got used to it after using several times. If you won't use the BTS or MRT most of the time, like you will just go to one place vice versa, I would suggest that you go for the single journey token/ticket.


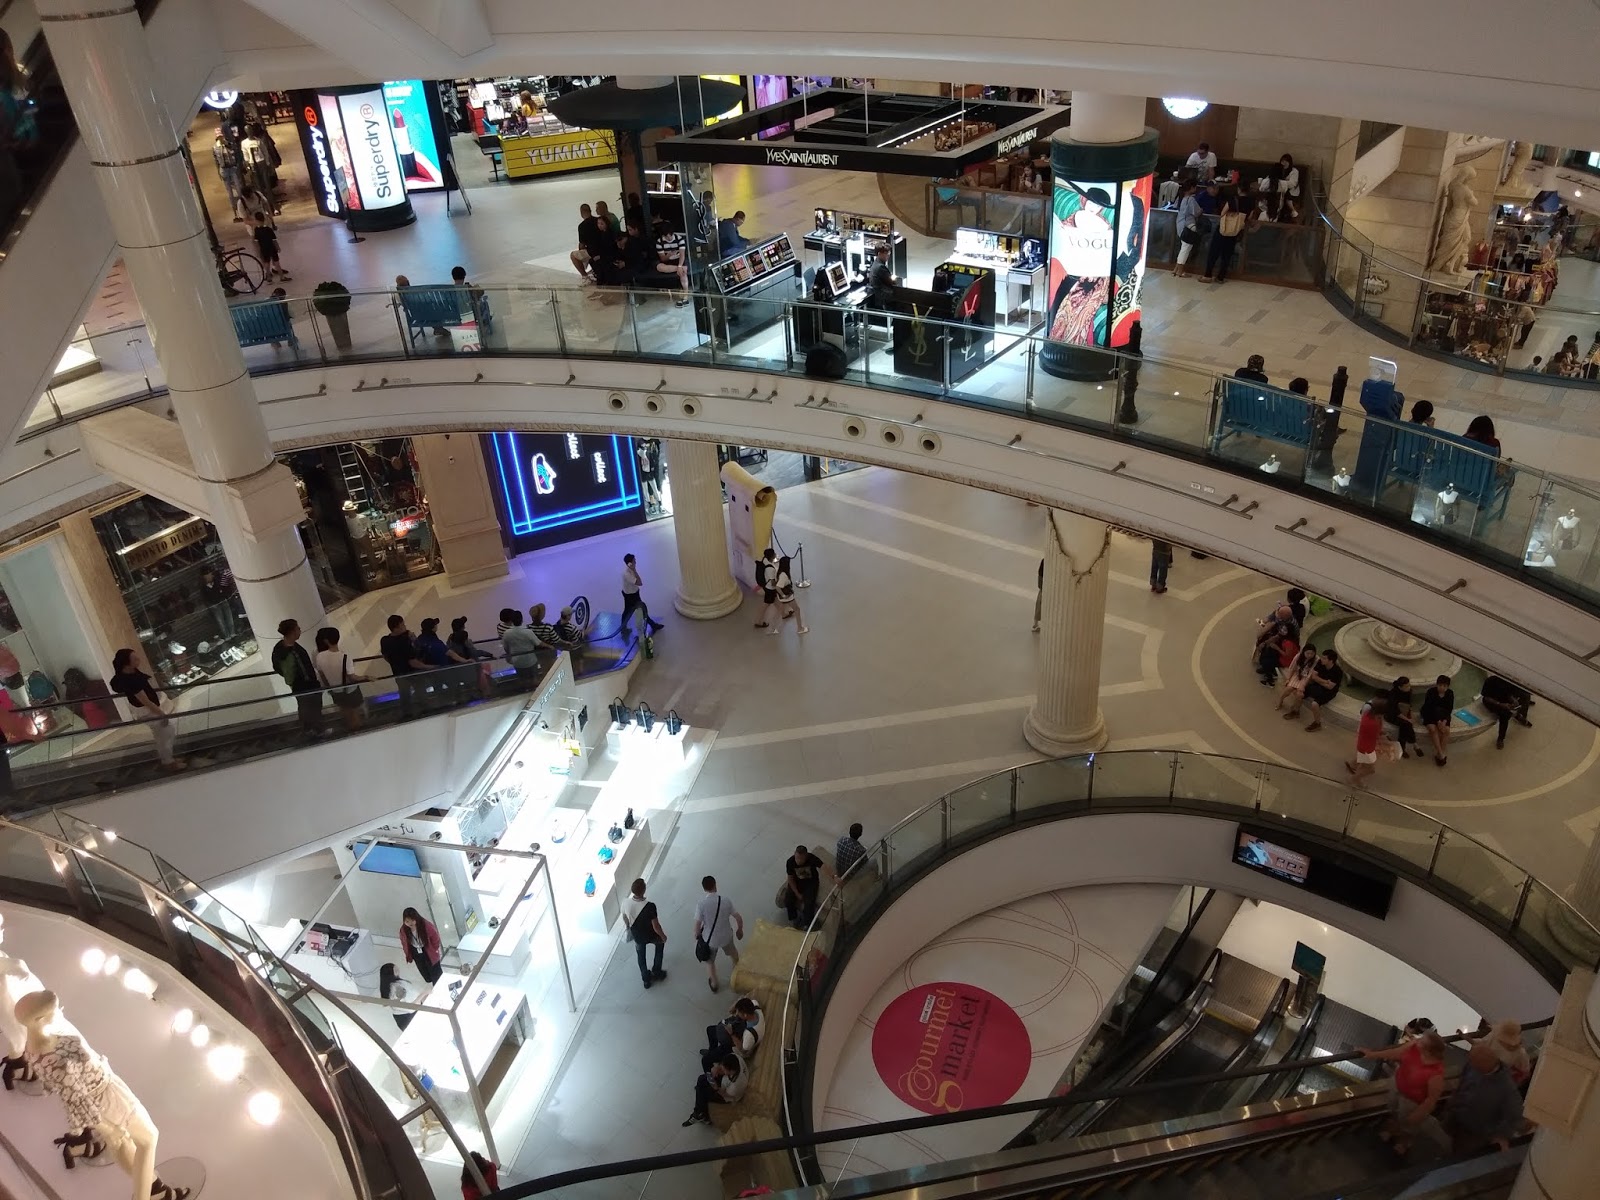
Upon arrival at the hostel, we paid 1,960 THB each for 6 nights. I find the hostel really cheap but yeah, it's not really a luxury hotel because it is only for backpackers. We got the 4 bed-bunk room. Since we were only 3, the extra person would definitely be a stranger. Exciting! Lol. After washing ourselves up and arranged our stuff, we went out to Terminal 21 mall for a quick stroll. So we used the MRT Sam Yan station going to Sukhumvit station and we paid 25 THB for the fare. The Terminal mall was just ordinary. Nothing special so after a few tour around the place, we decided to just go somewhere Lumpini park going to Silom road where we planned out to eat our dinner. We were excited at first but we did not expect the Lumpini park to be that big. It was a bit exhausting to walk around the park when you did not have enough sleep. :(. So we just took a few photos and then off we go to Silom Road. And again, the Silom area was a bit far for me or maybe we were very tired already so we didn't enjoy the place much. Just did a lot of walking and our feet were already sore and aching. haha. I recommend that you either take the train or just skip the walking part if you are tired. :).


Documents we brought for immigration purposes but were not asked but bring it just in case.
1. Roundtrip tickets.
2. Hotel accommodation printout with dates.
3. Company ID /PRC ID (was asked from my boyfriend since he doesn't look like a nurse. lol)
4. Certificate of employment (if working).
5. Printed copy of your DIY itinerary.
6. Passport (of course! expiration should be before 6 months). Just bring your old stamped passport if you have one, just in case).
7. ITR ( Income Tax Return, if you have one).
Expenses for this day (in thai baht). Prices are for reference only.
1. 1,960 THB - hostel accommodation.
2. 299 THB - DTAC Sim card.
3. 35 THB - fare from Airport Rail Link to Makkasan BTS,
4. 28 THB - fare from Petchaburi MRT to Sam Yan MRT.
5. 99 THB - Lunch at the hostel.
6. 25 THB- fare from Sam Yan MRT to Sukhumvit MRT.
7. 21 THB - fare from Sukhumvit MRT to Lumpini MRT.
8. 40 THB - Dinner at Silom Road.
Today is a wrap! Looking forward for tomorrow's agenda! :)
Please click on our DIY Day 2!
Day 2: Visiting Bangkok Temples!
At the airport, we bought a sim card from DTAC happy sim which costs for 299 THB. I actually read some blogs that internet connection is not available everywhere in BANGKOK so I would highly suggest that you buy yours too. It's very useful especially with using the google maps around the area. Let the attendant insert the sim card on your phone and adjust the settings. Also, make sure that the SMS that you received from DTAC would show 7-8 days or depending on the number of days you want to use the sim card. By the way, their booth is located near EXIT 3. Before that, we had our 100 dollars changed to Thai Baht currency so we can use to purchase the sim at SIAM Money Changer. Their dollar exchange rate was actually a bit low. I would recommend that you change your dollars outside the airport for a higher exchange rate. Anyhow, in our case, when we went down to the Airport Rail Link located on the 2nd floor, we saw another money changer booth and it was way higher compared to the one we first had our dollars changed. If I remembered it right, we changed our money on the booth near the City Line escalator.


As per research, there are a lot of hotels or hostels that you can book ahead depending on your preference. Mostly, foreigners would stay in Khao San Road or near Silom Road because of the night life. For us, we stayed in Sap Road near the Silom road. I chose the place because of good reviews and it's actually just 3-5 minutes going to Sam Yan MRT. I've heard that MRT or BTS are not accessible to Khao San Road so you really have to either take taxi, tuktuk or motorcycle. So going back, we rode the airport rail link going to Makkasan BTS where we had to change to Petchaburi MRT going to Sam Yan. For tourists, you have the option to just use the single journey ticket/token or the 30 day pass card where you can reload it on the ticket booth. With the single journey, you can go for the ticket booth or the ticket vending machine. It was a bit hard at first but we got used to it after using several times. If you won't use the BTS or MRT most of the time, like you will just go to one place vice versa, I would suggest that you go for the single journey token/ticket.


Upon arrival at the hostel, we paid 1,960 THB each for 6 nights. I find the hostel really cheap but yeah, it's not really a luxury hotel because it is only for backpackers. We got the 4 bed-bunk room. Since we were only 3, the extra person would definitely be a stranger. Exciting! Lol. After washing ourselves up and arranged our stuff, we went out to Terminal 21 mall for a quick stroll. So we used the MRT Sam Yan station going to Sukhumvit station and we paid 25 THB for the fare. The Terminal mall was just ordinary. Nothing special so after a few tour around the place, we decided to just go somewhere Lumpini park going to Silom road where we planned out to eat our dinner. We were excited at first but we did not expect the Lumpini park to be that big. It was a bit exhausting to walk around the park when you did not have enough sleep. :(. So we just took a few photos and then off we go to Silom Road. And again, the Silom area was a bit far for me or maybe we were very tired already so we didn't enjoy the place much. Just did a lot of walking and our feet were already sore and aching. haha. I recommend that you either take the train or just skip the walking part if you are tired. :).


 |
| food choices on one food stall in Silom Road |


Documents we brought for immigration purposes but were not asked but bring it just in case.
1. Roundtrip tickets.
2. Hotel accommodation printout with dates.
3. Company ID /PRC ID (was asked from my boyfriend since he doesn't look like a nurse. lol)
4. Certificate of employment (if working).
5. Printed copy of your DIY itinerary.
6. Passport (of course! expiration should be before 6 months). Just bring your old stamped passport if you have one, just in case).
7. ITR ( Income Tax Return, if you have one).
Expenses for this day (in thai baht). Prices are for reference only.
1. 1,960 THB - hostel accommodation.
2. 299 THB - DTAC Sim card.
3. 35 THB - fare from Airport Rail Link to Makkasan BTS,
4. 28 THB - fare from Petchaburi MRT to Sam Yan MRT.
5. 99 THB - Lunch at the hostel.
6. 25 THB- fare from Sam Yan MRT to Sukhumvit MRT.
7. 21 THB - fare from Sukhumvit MRT to Lumpini MRT.
8. 40 THB - Dinner at Silom Road.
Today is a wrap! Looking forward for tomorrow's agenda! :)
Please click on our DIY Day 2!
Day 2: Visiting Bangkok Temples!


No comments:
Post a Comment